
By Rose Lovett
Fruits In and Out of the Fridge
What fruits go in the fridge and what ones are best left outside the fridge? Apples and citrus fruits all do best in your fridge’s fruit crisper drawer. Berries and grapes can also go in the fridge in the crisper drawer if there’s room or on any shelf. These need to be eaten quickly though (within a few days of purchase). Melons such as watermelon and cantaloupe last longest in the fridge and can go on any shelf they fit on. Nectarines, mangos, plums, peaches, and avocados all do best outside the refrigerator in fruit bowls or on the counter. Pineapple can sit on the counter as it ripens (you will know when it is ripe if you can gently pluck one of its leaves off the top with minimal effort). Keep your outside the fridge fruits in a shadier spot out of direct sunlight – ideally at room temperature with airflow.
Consider which fruits are touching each other in your crisper drawer or in your fruit bowl on the counter or table. Fruits ripen differently based on what types of fruits they have contact with. This is because different varieties of fruits have different levels of the ripening hormone, ethylene. High-ethylene releasing fruits (such as apples, pears, bananas, plums, and nectarines) ripen faster and will ripen other fruits more quickly when placed side-by-side.
Some fruits such as bananas and tomatoes (if they are still on a vine) should be hung up rather than placed directly on a counter or table surface. You can purchase banana hangers or hooks to use for this purpose or you can make your own with a metal coat hanger by twisting it and securing part of it inside a cabinet and having the hook sticking out to hang your bananas or tomatoes off of. If your bananas are getting ripe or overripe and you can’t eat them all, it’s a good idea to peel them and put them in tupperware in the freezer to be used for smoothies or “nice cream” (see next section for the recipe).
Frozen Treats
If you’re looking for a healthy alternative summer treat to ice cream, look no further than banana “nice cream”. This dish is simple to make, delicious, and surprisingly similar to the consistency and flavor of ice cream! If you have bananas that have over ripened, put them in the freezer and take them out once frozen. Add them to a blender or food processor with a bit of your favorite milk or non-dairy alternative, and any other ingredients you want to add to your frozen treat. Some ideas include vanilla extract, maple syrup, strawberries, peanut butter, or cocoa powder. Enjoy it as a breakfast or desert and eat right away since the bananas melt fast!
Blanching and Freezing
Many vegetables grow for a short period of time during the year in VT, but carry high nutrition and vitamin content that would be nourishing and delicious to consume year round. To address this, you can take your vegetables and blanch them (steaming them for just a few minutes until they soften) and then putting them in the freezer. Blanching stops enzyme actions which can cause loss of flavor, color and texture. Blanching also cleanses the surface of dirt and organisms, brightens the color, and helps slow the loss of vitamins. Different vegetables require different blanching times, which can be found here. Once your vegetables have been frozen, you can access them at any time of the year and add them to soups and other dishes!
Meal Prep
Batch cooking and meal prep helps set you up for easy go-to meals on busy days. When you have some time to spend in the kitchen you can batch cook a recipe that makes a good quantity of food (more than you or your family would eat in one sitting). For many people this is Sunday afternoon or evening, but that will vary based on your personal schedule. After you cook, you can enjoy the meal fresh. Then you can store the rest in tupperware. You can then put some away in the fridge to grab and go throughout the week. Depending on what it is and how much of it there is, another option is to put that tupperware in the freezer for longer storage. This is particularly useful for having things like frozen veggies or burgers on hand that you made yourself rather than store bought. This will save you money and cut down on plastic use too.
Bread Options
Store bread in a cool dry place in an air-tight container or bag. Make sure to always close the storage container completely or tie the bag shut with a twisty tie or clip to preserve freshness.
If you have more bread than you can eat, you can always freeze some to be used later. Take the bread out of the freezer when you’re ready and pop it in the toaster or toaster oven to make some toast with it.
If your bread goes stale (but not moldy), an easy way to make use of it is to bake croutons. Simply cut up the stale bread into cubes of your preferred size, massage them in olive oil, add seasoning if desired and bake them in your oven or toaster oven until they are crispy. Keep a close eye on them so they don’t burn. It won’t take long and they’ll be ready to add to a soup or salad!
Wrapping Herbs and Greens
Wet a dish cloth and squeeze out the extra water. Roll your herbs up in the dish cloth and place in your refrigerator in the vegetable crisper drawer. Every time you use the herbs, make sure to dampen the cloth again. After you’re done with a batch of herbs or greens, take out a fresh clean cloth and start again with the next batch.
Vegetables in Water
Some fruits and vegetables stay fresh longer when stored in water, some partially submerged like a bouquet of flowers and some completely covered by water.
Carrots (completely cover in water)
Radishes (completely cover in water)
Asparagus (in water like a bouquet)
Celery (in water like a bouquet)
Kale and chard (in water like a bouquet)
Shaded Vegetables Storage
Shaded vegetables like potatoes, sweet potatoes, garlic, onions, winter squash, butternut squash, and pumpkin, are best stored in cool dark places like a pantry or cupboard that doesn’t get much or any sunlight. It’s also best to store these vegetables in containers that have some airflow such as wicker baskets, cardboard boxes, or mesh cloth bags. Keep onions and potatoes separate for longer shelf lives. Garlic from the garden can be braided and hung to display until used for cooking.
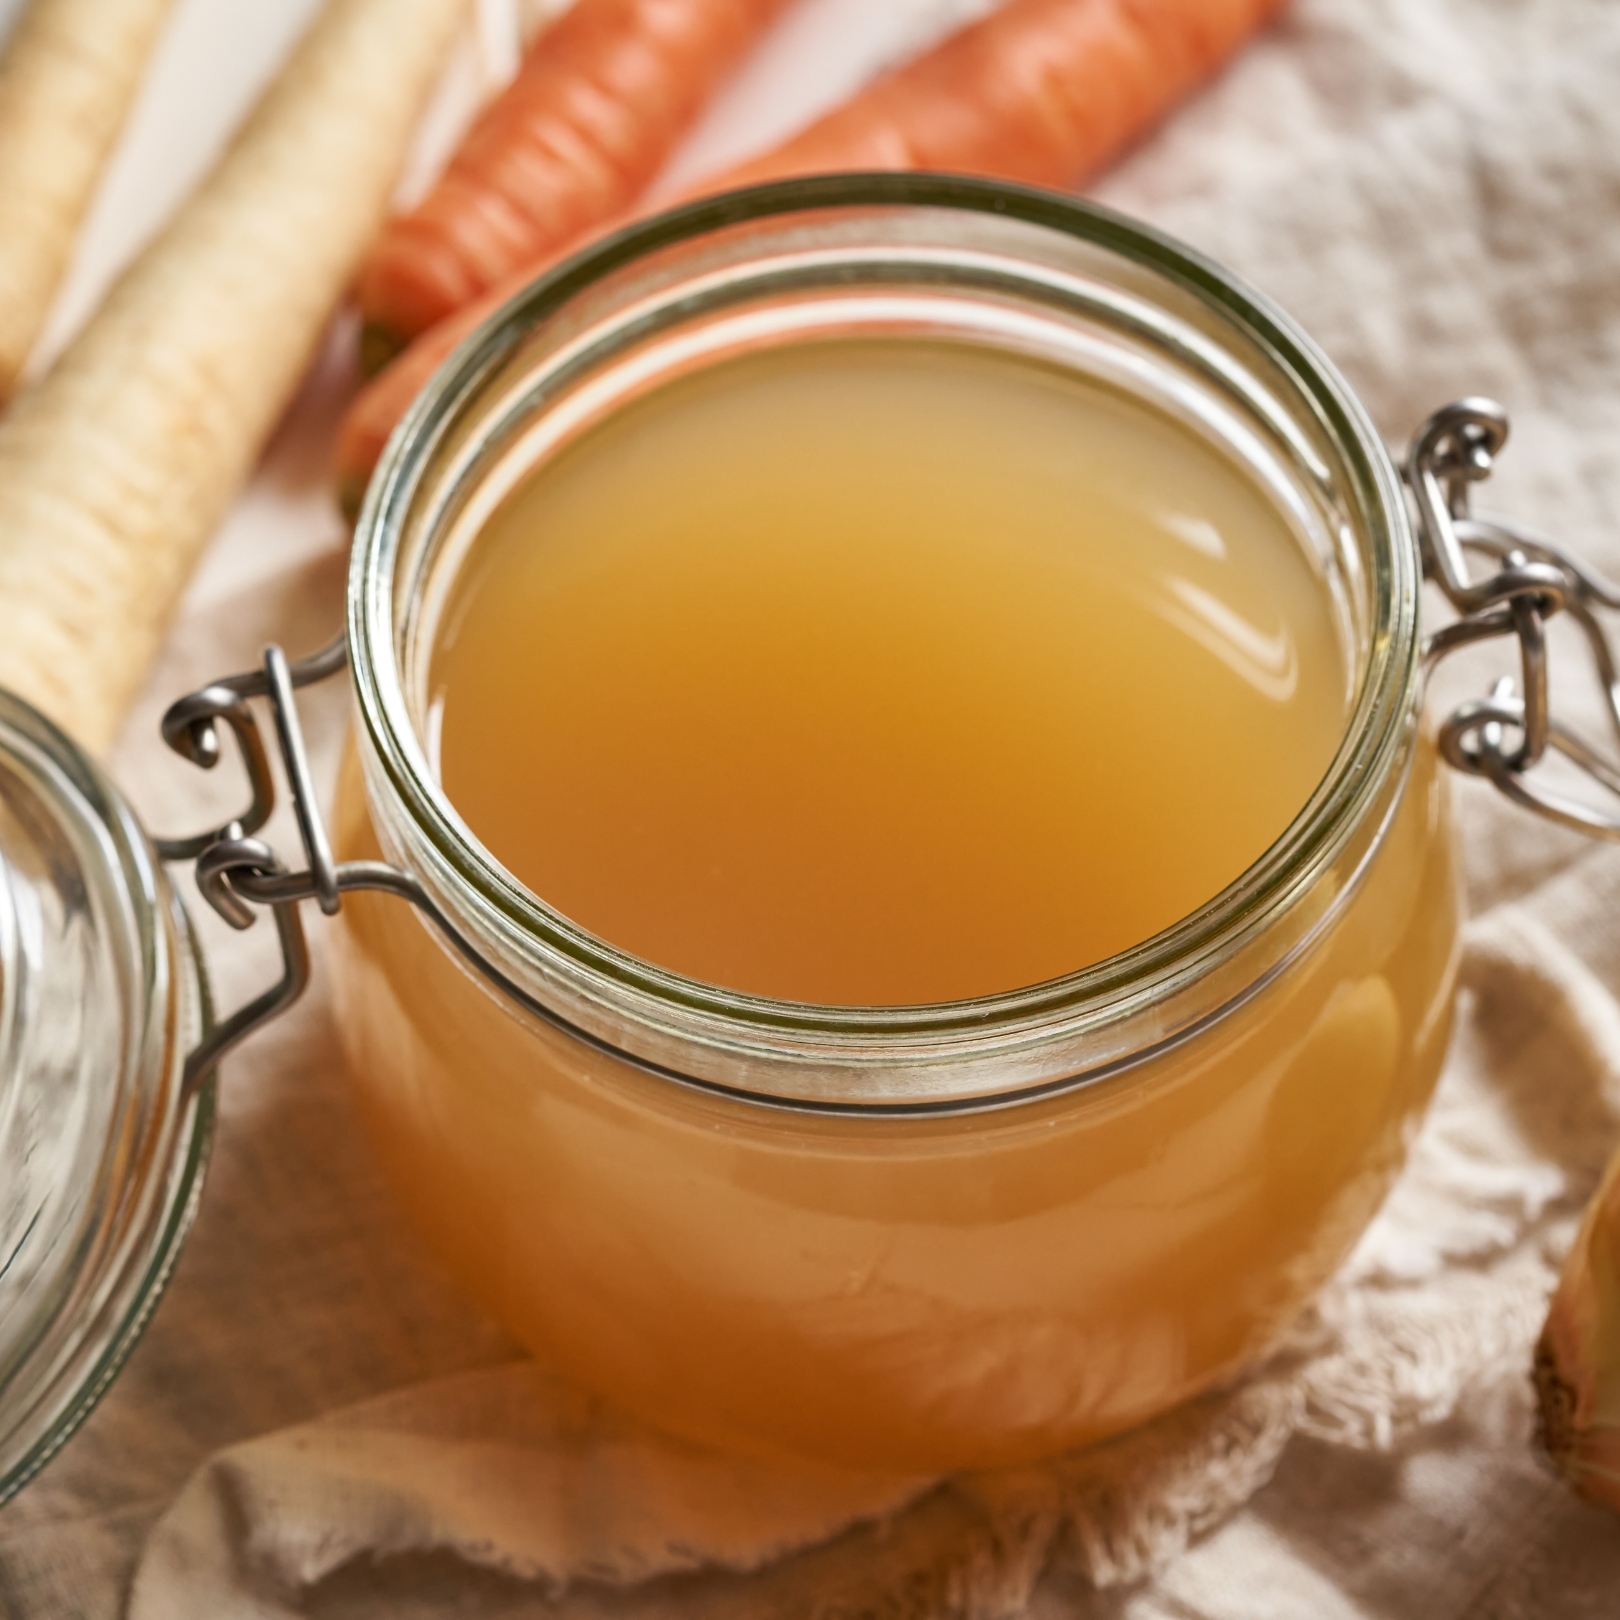
Veggie Scrap Stock
Rather than throwing them directly into the compost, try transforming your veggie scraps into a delicious stock. Avoid using scraps from cruciferous veggies like broccoli, kale, cabbage as well as beets, potatoes, leafy greens, and citrus. The best scraps to save for stock are from onions, celery, carrots, mushrooms, and tomatoes. You can save them in a tupperware in the freezer until you have enough to use to mostly fill a pot. Fresh or dried herb scraps are also excellent additions, as well as a clove or two of garlic. To make the stock, fill a pot with vegetable scraps and a couple bay leaves and cover with water cold a couple inches below the top of the pot. Add olive oil and some salt and pepper.
Now there are two options for cooking – a quick option if you don’t have much time and a longer option if you have more time. Option 1: Bring to a boil on high heat. Then reduce to a simmer for half an hour. Option 2: Partially cover the pot and simmer for four hours, checking in from time to time to make sure it’s not boiling over.
After you’re done cooking, strain the stock. This will remove the larger bits, which can then be put in the compost. You can use it for a soup or to add flavor to cooked grains. You can use it soon after or store it in the freezer for up to three months.