
By Arlene Shannon
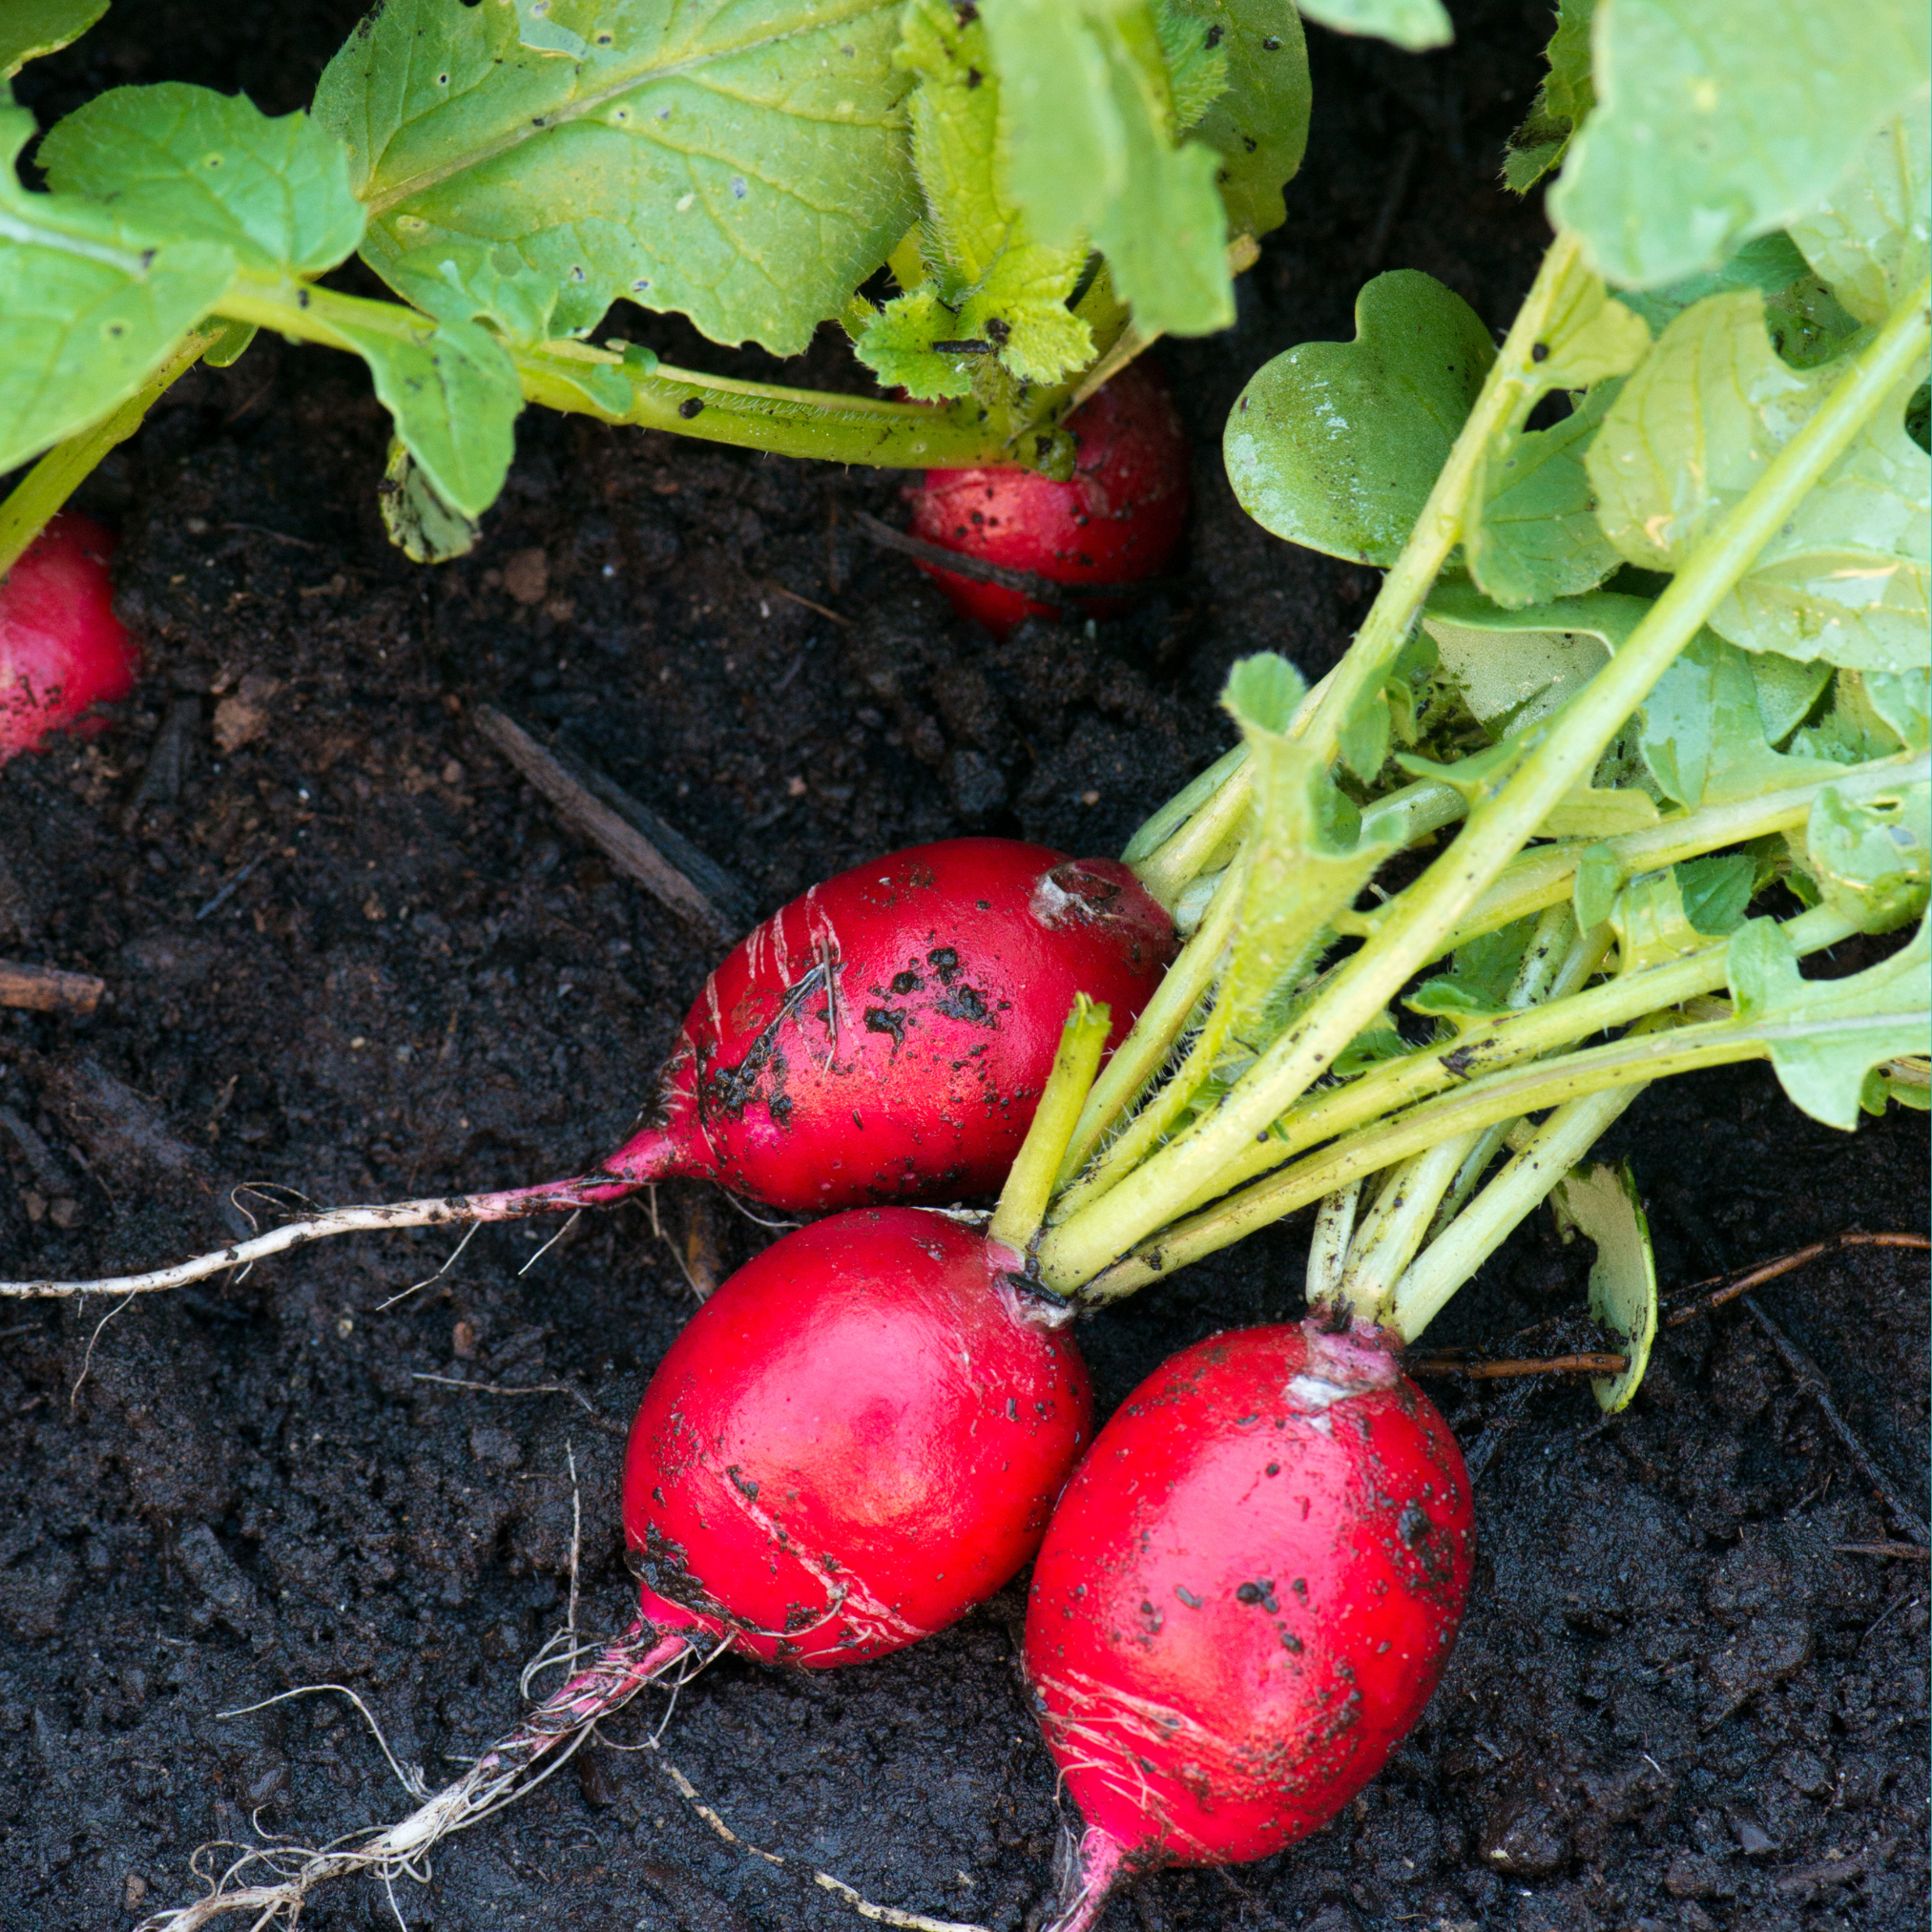
Radishes are a friend to both the gardener and the garden. Many of us know radishes as only a spicy and colorful addition to a salad, but there are different types, many ways to use them, and the entire plant can be eaten. Radishes are easy to grow and many gardeners have found them to be helpful for insect control and improving the soil.
Radishes grow best in the cooler months of spring and fall. They can be planted as early as the ground can be worked, and in late summer for a fall crop. Maturing in as little as 25 days, they are one of the first crops ready for harvest. They do struggle in hot, dry conditions, and may fail to develop roots or turn woody in the heat, but otherwise they have few problems. With lovely names such as Easter Egg, French Breakfast, Valentine, and Watermelon, there are plenty of choices.
Planting radishes in rows works well, and they also make a great companion plant for many other vegetables. The variety White Icicle has been used to loosen clay or compacted soils. This particular radish’s very strong root can drill down and break up tough hardpan. The late Vermont gardening expert and author Dick Raymond advised gardeners to sprinkle a few radish seeds among other garden crops to help control insects. Radishes are often the first crop to peek through the soil, and it may be that bugs develop a taste for the radishes before the other crops start to appear. A radish can handle a lot of insect damage and still develop a decent root, although a few may end up being sacrificed for the other crop. Try planting a few radishes with beets, carrots, lettuce, and other greens and see if insects go for the radishes instead of your other vegetables.
Radishes fall into two types. Spring, or salad radishes are the ones we are most familiar with. They are quicker to mature and can be planted in spring or late summer/early fall. Winter radishes are larger and take longer to mature. Winter radishes can be stored longer, especially if kept damp in a perforated plastic bag in the fridge. Unlike spring radishes, winter radishes should only be planted around the first week of August for an October crop. If planted in the spring, summer heat will cause winter radishes to bolt (flower and go to seed) before the root develops. Winter radish varieties include China Rose (an excellent keeper), Daikon, Spanish Black, and Watermelon.
There are so many ways to enjoy radishes. In addition to being added to salads or eaten raw, radishes can be sautéed, roasted, air fried, stir fried, or made into pesto. (tops only). Radishes lose some of their spicy bite and develop a delicious sweetness when cooked.
The green tops are also good to eat. The tiny tender leaves left over from thinning a row can be added to salads. Older leaves lose their rough texture when sautéed in a skillet with a little olive oil or butter. You can keep them very simple by adding just a bit of salt and pepper, or jazz them up by adding garlic, herbs, or a splash of vinegar. Some of us love radish greens in scrambled eggs, quiches, and omelets, and they can be added to pasta dishes, soups, and stews. If your radishes do bolt and develop seed pods, they too are edible and can be added to stir fries. Some folks like to nibble on the raw pods.
There is a radish for every gardener, and almost every eater!
Oven Roasted Radishes
(Many a non-radish fan has been converted with this recipe)
This recipe can be made with salad or winter radishes. If using winter radishes, depending on the toughness of the skin, you may want to peel them. If the skin is still tender, leave it on and enjoy the pretty color.
Preheat oven to 400 degrees F.
Chop radishes into bite sized pieces.
Pour a tablespoon of cooking oil (preferably olive) in a medium size bowl.
Toss the radishes in the oil and spread them on a cookie sheet (parchment paper will make clean up easier but is not essential)
Sprinkle with salt and pepper.
Bake 10 -15 minutes for crispy-crunchy radishes or 20-25 minutes for soft- on-the -inside radishes, tossing and turning the radishes with a spatula half way through.

Pictured: Roasted radishes sprinkled with parsley
Sautéed Radish Greens
Ingredients:
Radish greens
1 Tbsp. cooking oil or butter
Chopped garlic (optional)
Vinegar (optional)
Salt and pepper
Chop washed radish greens, removing any tough stems. The stems can be saved for stock, if you make it.
Heat a tablespoon of oil or butter in a skillet over medium high heat.
Add the greens (and chopped garlic if you are using it).
Stir and toss the greens around in the pan until they are just wilted, 1-2 minutes.
Immediately remove the pan from the heat, and add a splash of vinegar if desired. Add salt and pepper to taste. Enjoy!

Pictured: Sautéed radish greens with Korean cabbage
Hint: To keep your radish greens fresh, separate them from the root and store them in the crisper drawer of your fridge. Otherwise the root will continue to pull water from the leaves and the greens will wilt in storage.
References:
Raymond, Dick “Garden Way’s Joy of Gardening” (Garden Way, Inc. 1982)
O’Hara, Bryan “No-Till Intensive Vegetable Culture; Pesticide-Free Methods for Restoring Soil and Growing Nutrient-Rich, High-Yielding Crops” (Vermont, Chelsea Green Publishing 2020)