
By Arlene Shannon
Whether you have a garden, belong to a CSA, or are the lucky recipient of a shared summer bounty, it’s sometimes challenging to use all of the produce before it spoils. Here are some relatively quick and easy ways to prepare and preserve some common fruits and vegetables.
Bountiful Beans
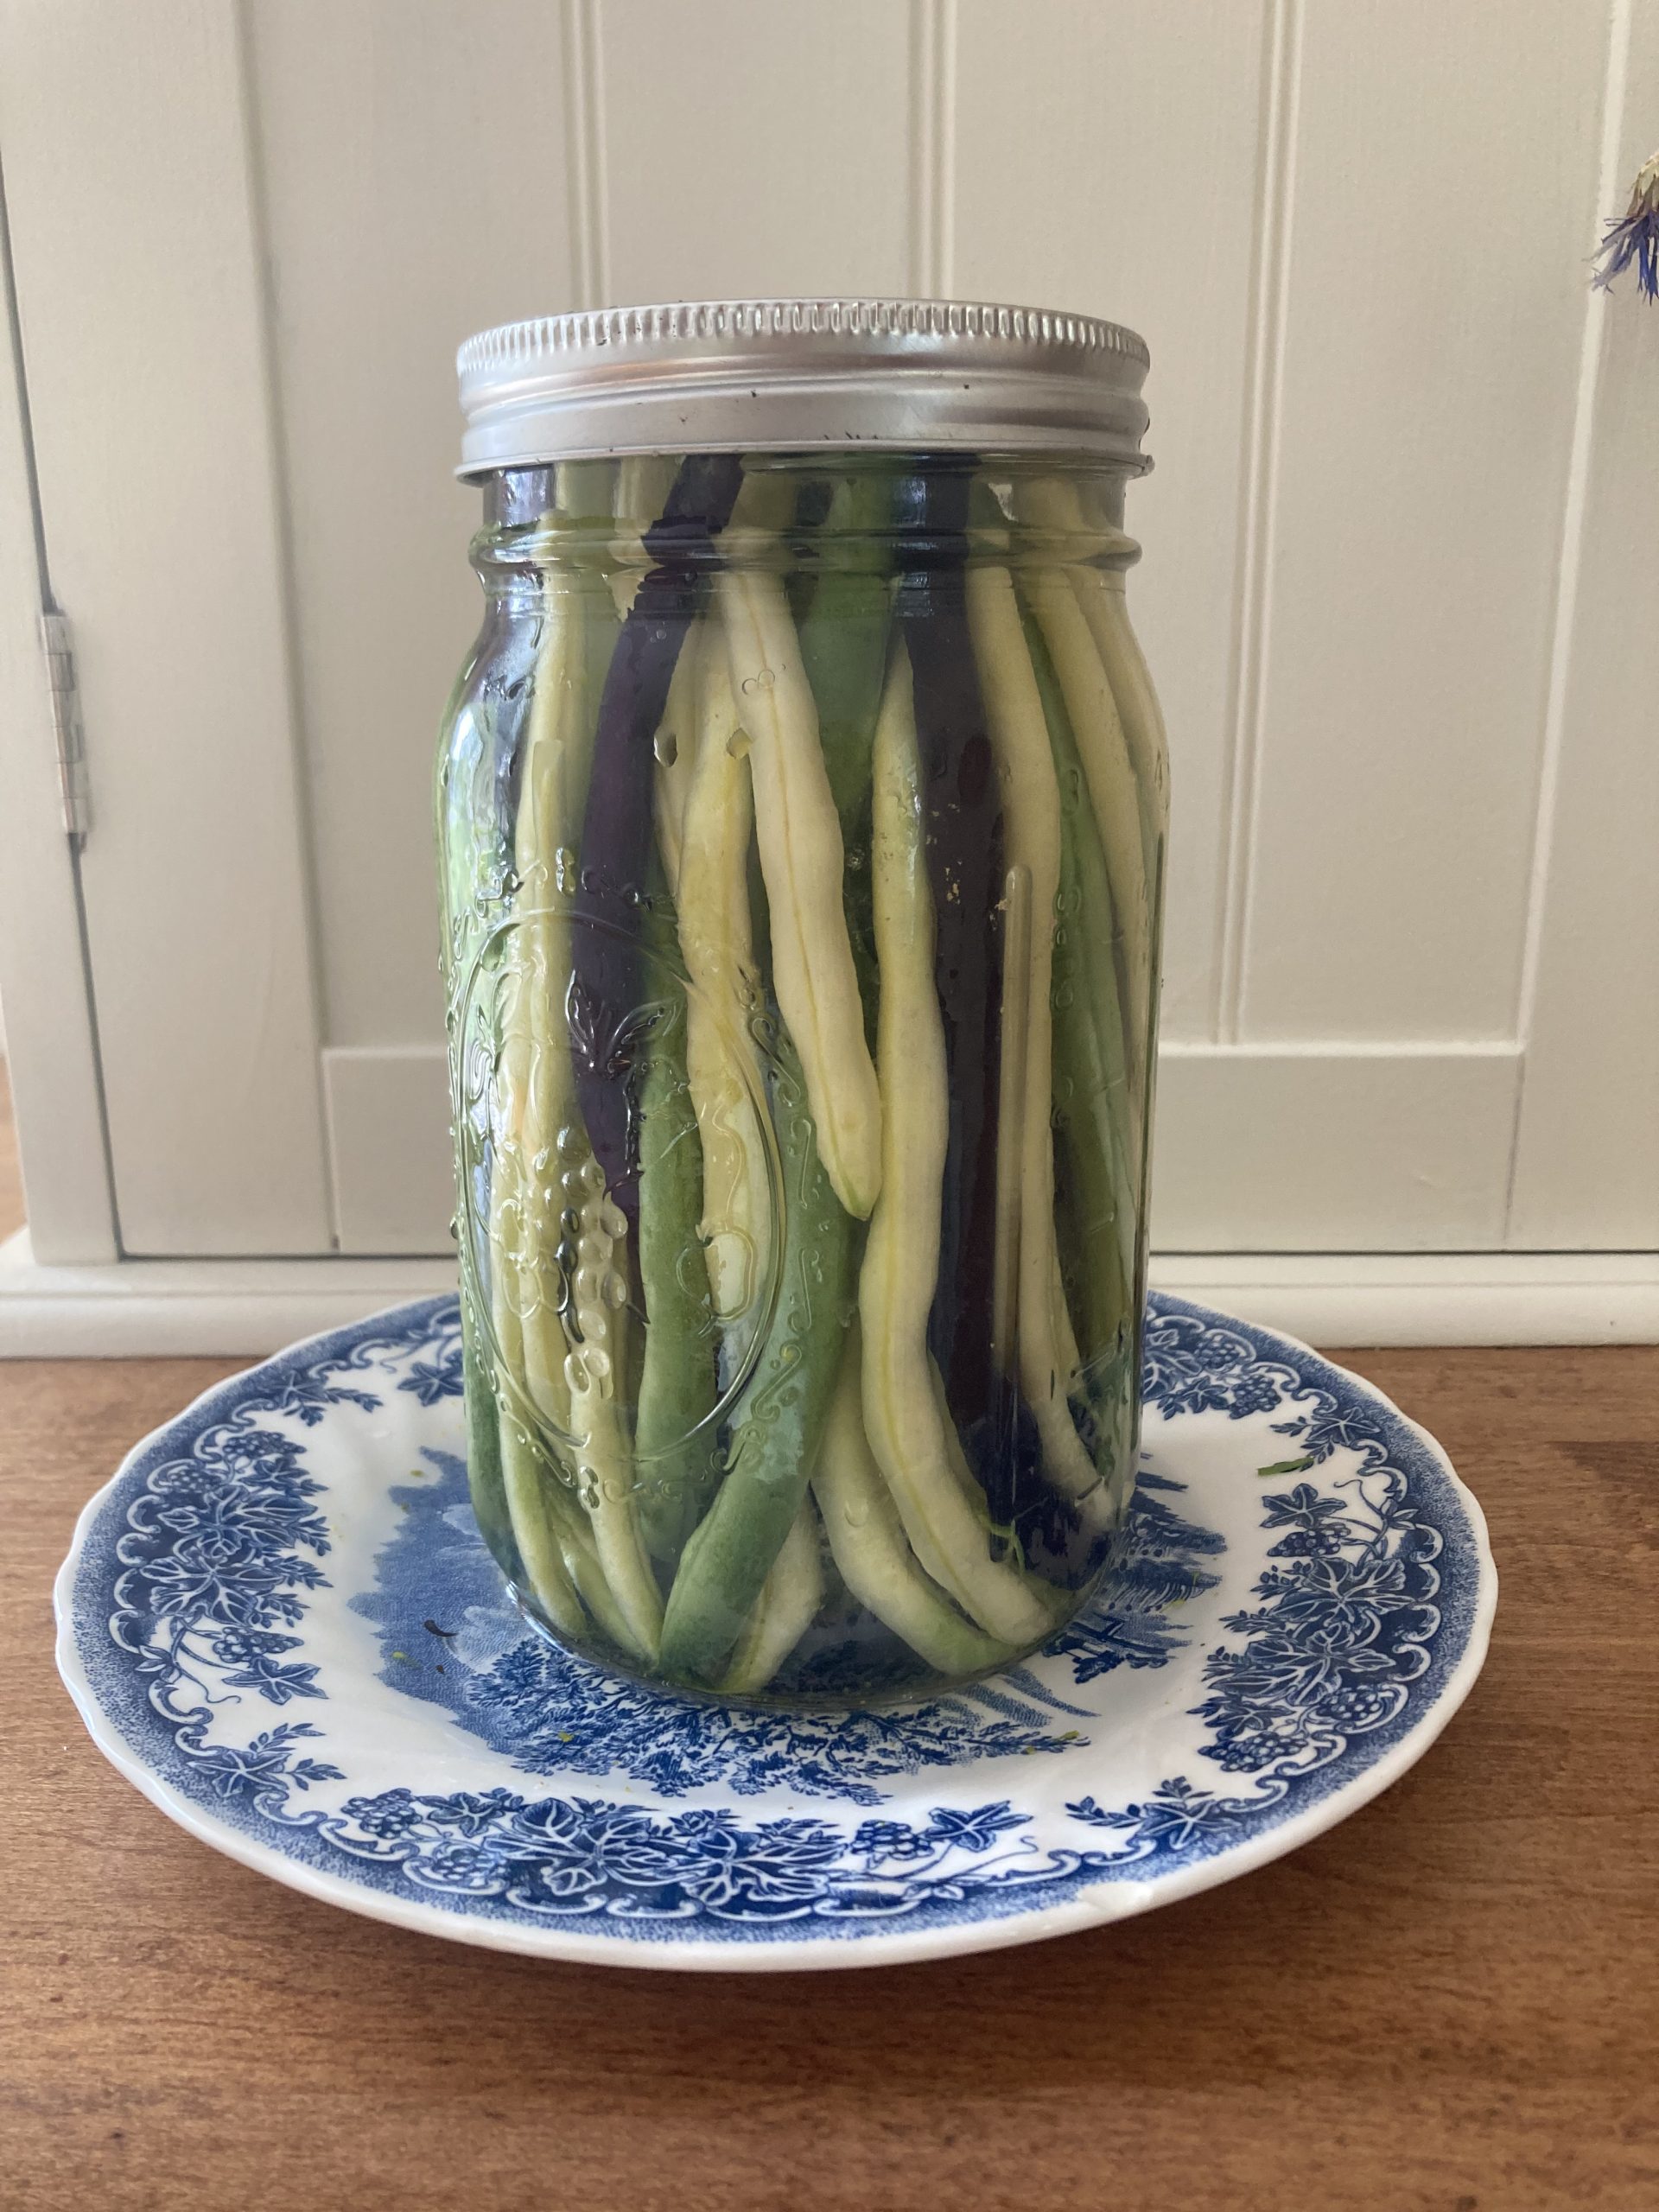
Snap beans (green, yellow, and purple) rarely fail us. They produce under harsh circumstances, and nourish the soil at the same time. The lacto-fermented bean recipe below, from Preserving Everything by Leda Meredith, is a great recipe for those just getting started with fermenting foods. Bursting with probiotic goodness, they are a great way to preserve the bean harvest.
Recipe: Lacto-Fermented Green Beans
These have a light, mild flavor and can be served as a pickle or vegetable.
Ingredients:
2 lbs. snap beans
3 c. filtered or non-chlorinated water
1 T. kosher or medium grain sea salt (do not use iodized salt)
Optional flavorings: a few sprigs of dill, a clove of smashed garlic, 1- 2 small hot chili
peppers**
Instructions:
Wash the beans and snap off the ends.
Combine the filtered or non-chlorinated water with the salt and stir to dissolve.
Lay a clean glass jar on its side and load the beans lengthwise. You’ll fit more beans in the jar this way rather than trying to get them to stay in place with the jar upright. Once the jar is full enough that the green beans stay in place, set the jar upright. Keep stuffing in beans until you can’t squeeze even one more in.
Pour the salt water brine over the beans, making sure they are completely covered. Sit a lid on the jar, but loosely. You want the gas that forms during fermentation to be able to escape.
Put a small plate under the jar to catch any overflow that may occur during fermentation. Leave the jar of beans out at room temperature for 2-3 days. At least once a day, take the lid off and look for signs of fermentation such as bubbles on the surface. You’ll see these especially if you press gently on the food. But don’t just outlook for signs of fermentation, get close with your nose and sniff for that clean but tangy pickled smell that means the safe, tasty, and healthy transformation you’re after is happening. Fermented beans will smell something like a light version of sauerkraut.
Once the beans have been actively fermenting for 24 hours, move them to the refrigerator or a cool, dark cellar. At this point you no longer need a plate under the jar. If you put the green beans in the refrigerator, remember the door is warmer than the main compartment. If you want a more active fermentation to continue, put them on the door and plan on using them within the next few weeks. For longer storage, place it on the top shelf toward the back of the fridge.
*Purple beans, such as Royal Burgundy or Blue Coco, will turn green during fermentation,
just like they do when cooked.
**If you are adding dill, garlic, or hot chili pepper, add it to the bottom of the jar before filling.
Easy Freezing
Freezing is one of the easier food preservation techniques. While it’s true frozen fruits and vegetables lose their crisp texture, the flavor of produce frozen fresh from the garden will be far superior to higher priced, road weary, out of season produce found in the grocery store in winter. Most vegetables need to be blanched before freezing, but there are a few exceptions, and the techniques below are super easy and highlight those.
Cookie Sheet Method
With the cookie sheet method, it’s okay if you only have a small quantity of produce at one time. A cup of berries or a single pepper can be washed, chopped (if needed), and frozen in a single layer on a cookie sheet. Once frozen, the pieces can be transferred to a freezer bag or container. If you come by more of that item, you can freeze it on the cookie sheet and add it to the same bag. Frozen this way, the produce is less likely to stick together, and you can measure out just the amount you need for a recipe.
Berries, melon chunks, and fruit slices are great candidates for the cookie sheet method. Some people like to mix partially thawed berries and/or melon chunks with cut up citrus fruits and/or apples for winter fruit salads. Frozen fruits and berries work wonderfully in smoothies, pancakes, pies, and other baked goods.
Sweet peppers can be washed, chopped to a size you are most likely to use, and frozen using the cookie sheet method. They work fine on pizza, in soups, stews, chili, egg dishes (if thawed), and casseroles. Hot peppers can also be frozen, but be sure to wear gloves when handling them.
Ripe Peppers
If you have ripe peppers (red, orange, or yellow), you can create some special roasted peppers.
Recipe: Roasted Ripe Peppers
Instructions:
Preheat the oven to 450 degrees.
Line a cookie sheet with parchment paper or cover it with a thin layer of oil, preferably olive.
Cut peppers in half lengthwise, removing white inner parts and seeds.
Lay peppers cut side down on the cookie sheet.
Roast in the center of the oven for 30-40 minutes, until the skin is blistered and charred.
Place the charred peppers in a covered bowl or in a brown paper bag for a minimum of 30 minutes, up to several hours.
When the peppers are cool, peel the skin off. If you have difficulty removing small areas of the skin, that’s ok. As long as the majority of the skin can be removed, you are doing fine. The skin can be composted.
The roasted peppers can be frozen using the cookie sheet method, or they can be put directly into freezer bags. Usually one or two peppers are enough for most recipes. They add something special to winter pizzas and pasta dishes.
The Ever Generous Zucchini
Once you have eaten all the zucchini you can, it can be coarsely shredded with a box grater or food processor and frozen in one cup portions (or any amount you choose) to use in baked goods and other winter recipes. Some recipes will recommend thawing and draining off all or some of the water before adding it to the recipe. The zucchini water left over can be added to soups or stews.
If you are looking for one more way to serve zucchini, this recipe from Barbara Kingsolver’s Animal, Vegetable, Miracle makes a good side dish or main course for a light lunch or supper.
Recipe: Disappearing Zucchini Orzo
Ingredients:
¾ lb. orzo pasta
1 onion, chopped
1-2 cloves of garlic, chopped (optional)
3 large zucchini (do not be tempted to use the giant, 12-18 inch club-like one that grew while you were away visiting relatives for the weekend, it will be very tough in this dish)
Pinch or more of thyme (to taste)
Pinch or more of oregano (to taste)
¼ c. parmesan or any hard yellow cheese, shredded
6 c. chicken stock or water
1 T. oil, preferably olive, for sautéing
Instructions:
Bring 6 c. chicken stock or water to a boil, add orzo, and cook for 8-12 minutes. Drain pasta and set aside.
Use a cheese grater or mandoline to shred the zucchini.
Heat oil in a skillet, add zucchini, onion, and garlic.
Sauté for a few minutes, until onions are soft and mixture is lightly browned.
Combine vegetables with drained orzo, thyme, oregano, and shredded cheese
Add salt and pepper to taste.
Serve cold or at room temperature.
…
If your Disappearing Zucchini Orzo didn’t disappear quite as quickly as you expected, you can make a nice pasta/bean salad with the leftovers. This is less of a recipe and more a technique for turning leftovers into something new. It’s a good way to use up more of those summer vegetables, and the beans add some protein.
To your cold leftover Disappearing Zucchini Orzo add some cooked, dried beans. You can use a can of drained and rinsed beans (chickpeas and white beans are especially suited), or use 1-2 cups of dried beans you cooked from scratch.
Chop some fresh vegetables you have on hand into small-ish pieces (dice size or a little bigger) and add. Tomatoes, peppers, onions, and cucumbers work especially well, but use what you like and think would work. How much you add will depend on how much leftover pasta you have, and whether you like it more vegetable-y or more starchy.
If you have fresh herbs or edible flowers on hand, toss some of those in too. Fresh basil, parsley, and dill are great, but again, make it your own by adding what you have and what you like. A couple of nasturtium leaves or flowers or the feathery tops of fennel, chopped fine, will give it a spicy bite.
A drizzle of olive oil and a splash of vinegar are optional, you may find the oil and cheese in the original recipe add enough flavor to make it taste dressed.
Salt and pepper to taste.
Speaking of Squash
If you grow winter squash, you know it takes at least 50 days to mature after it sets fruit, and there are always little squash forming later in the season that will never mature before frost hits. These little squash can be halved or quartered and roasted or added to stir fries, much in the way we might use zucchini. The skins are tender and the inner flesh delicious.
Your extension service UVM.edu has an extensive list of free food preservation resources. The National Center for Home Preservation nchfp.uga.edu has some excellent downloadable guides for canning, drying, freezing, and fermenting. It is also a great place to go with your food safety questions.